© Argonaut Software and Virgin Interactive Entertainment, 1994
Solution and hint guide © Mike Marcelais, August 1997

© Argonaut Software and Virgin Interactive Entertainment, 1994
Solution and hint guide © Mike Marcelais, August 1997
Creature Shock is a unique combination of an action/arcade game combined with the exploration and discovery more often associated with role playing or adventure games. Unlike most action games, the enemies in Creature Shock have only one or two weak spots and can only be damaged by shooting them in those weak spots. Hence, combat is at a much slower pace and is far more tactical than merely reflexive.
While a hint guide like this can't help your reflexes at all, it can provide three very important tools:
All information was gathered through actual playing of the game; no information was gleaned directly out of the program, through other hint books, or via actual programmers who worked on the project. As such, there may be errors in this information. Deal with it.
Mostly, this guide is to help during the exploration missions. The arcade sequences (missions 1 and 3) are very straightforward and require practice and dexterity.
Monsters: There are four things you need to know about a monster: where to hit it, how many hits it can take, how much damage it can deal to you, and where it is. The location guides below always list monsters in this format:
The first lines gives you the vitals. It takes 4 hits to kill this monster; the critter will cause you to lose 2% of your health when it bites you and 1% when it claws you. The second line tells you the only place on the creature that hurts it. Note that often, these locations with either open or close (like eyes) or be covered by arms (or whatever the monster substitutes).
Arcade sequences: There are also many locations where there is an arcade sequence. Instead of having one nasty creature, you have an entire screen of nasty creatures. There creatures do not have a weak spot; a hit anywhere on their body will kill them. Those creatures are listed like this:
This means that there are 8 creatures, each of which take 3 shots to kill (for a total of 24 hits). They can shoot at you for 1% of damage. Sometimes there will be more than one group of monsters in the shooting gallery. In this case, each critter gets its own line.
Wandering creatures: Each area also has creatures that just wander around and make life miserable for you. These creatures are described in each mission, but do not appear on the map, nor are they detectable by your life scanner. Unlike normal monsters, they just appear, try to strike once or twice, and then leave.
Damage: Your health is listed as a percentage; 100% is fully healed, 0% is dead. When a monster strikes you, it reduces your health by the amount listed -- if you're in easy mode. In medium mode, all damage is doubled, and in hard mode, all damage is tripled. The mode does not seem to have any affect on your weapon; 8 hits is 8 hits, regardless of the level of difficulty.
Dying: Dying is never a good thing, and you'll probably do quite a bit of it in this game. Each creature that kills you has a unique way of doing so; many of them quite entertaining. The only "boring" deaths in the entire game are the creatures that swallow you whole. Once you are comfortable surviving in a world, you may want to intentionally die to see what the different death scenes look like.
Also, be sure to die during the fifth mission for a grizzly scene.
Maps: I think the maps provided in the rulebook are about the most useless piece of garbage I've ever seen. The actual corridors in the ship seem to match up to the one provided in the rulebook in the loosest possible way, the rooms also barely line up and trying to follow the map in the guide gets you into more trouble than it is worth.
Anyway, my maps try to match the actual appearance of the corridors and rooms in the game. Compass directions are labeled at every location, in addition to "appearing" to be the correct direction. Direction 0 is north (or up) on your compass. Direction 1 is NNE, the first tick mark next to north on your compass. And so on. [4 is east, 8 is south, 12 is west]. Labels assume that you are in the room or intersection and are facing that corridor.
The game plays many tricks with the compass. Sometimes, in order to reuse graphics for a room, the amount of the turn on the compass will be radically different than the amount of the turn in the pictures. In general, this is fine, but causes some real confusion in a few rooms. Always trust your compass.
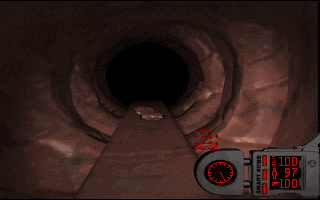
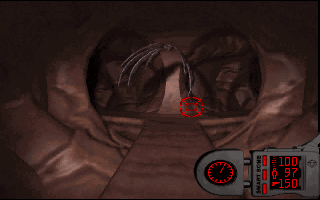
There are three kinds of corridors. The "normal" corridors are colored in black and are what you would expect from corridors. "Tubes" are colored blue and are narrow and winding passages. Not all of the turns are drawn on the map; only the entry and exit points are noted. You cannot turn around when you are in a tube. "Chutes" are colored red and are very much like tubes. Chutes are very steep and you can only slide down in one direction.
Not a lot to tell here; just a fairly straightforward shoot-em-up as you fly through space. Just keep moving and keep shooting.
If anyone has hints that makes this easier, let me know. As it is, the level is plenty easy enough.
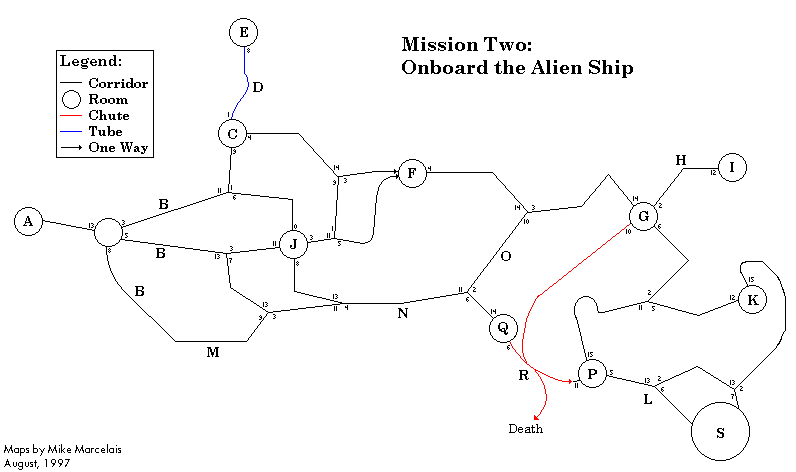
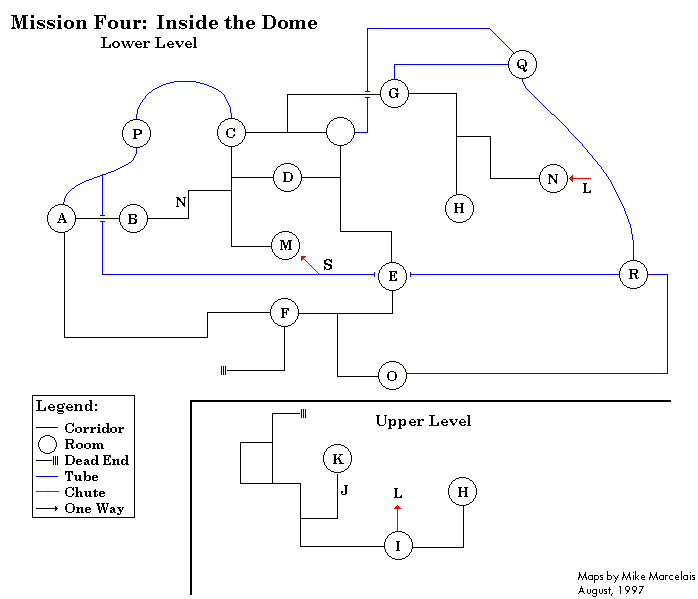
A: This is where you start the level. Right after you get off your ship, you are charged by eight gun-wielding monsters.
B: As you wander down the corridor away from the main entrace, you encounter another one of those gun-wielding monsters. Except that this one seems a little meaner.
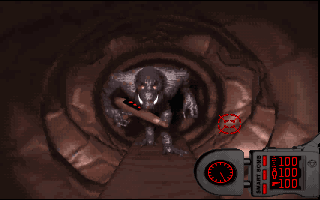
C: This room contains a green pool filled with some sort of liquid. When you walk near the pool, a large green serpent erupts from the pool.
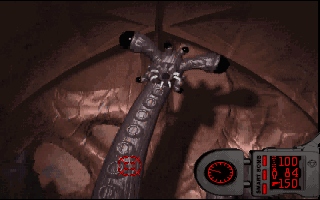
D: There is a small dog that jumps out into the corridor to greet you.
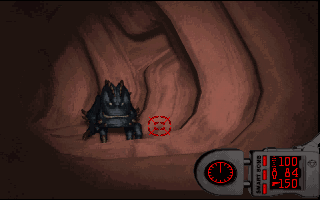
E: The chamber on the wall in this room holds a red energy sphere which will increase your weapon's capacity by 50%.
F: In this room, there are several small spiderlike creatures (which shoot fireballs at you) and large hornets (which sting)
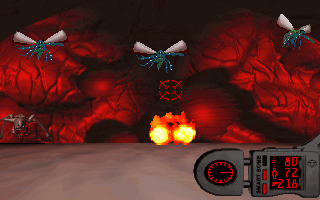
A chamber on the wall holds a dog (like the one at location D) which jumps on you. This does not cause you any damage.
G: A giant blue spider with red markings descends from the ceiling here.
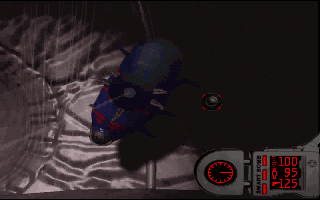
H: A large worm is crawling down the tunnel towards you.
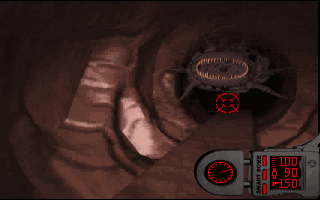
I: The chamber in this room contains a red energy ball that will restore you to 100% health.
J: This room contains a column of that same green liquid that was in the pool at location C. Clearly, this stuff is not water. As you get near, a water serpent, like the one found at C, rises out of the column to greet you.
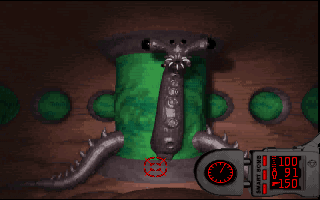
Note that while this creature is similar to the one at location C, it is not the same creature. Killing either one will not make the other go away.
K: Spiders drop from the ceiling as you cross this large chamber.
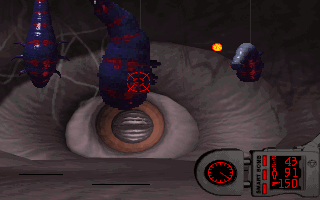
L: When you turn to the southeast (direction 6), a large blue spider lowers itself into the corridor from behind you. You must turn around and attack it or it will automatically kill you.
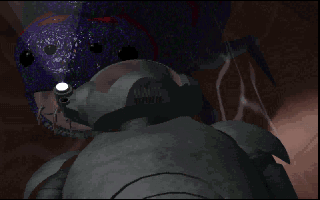
M: The wall cupboard contains a red energy ball which increases your gun's capacity by 50%.
N: A large wall spider scurrys down the corridor toward you. The weakspot mentioned below stays hidden for the spiders first two attacks.
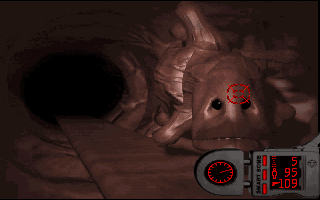
O: Another spider, just like the one at location L appears here. However, instead of attacking you, it just crawls towards you.
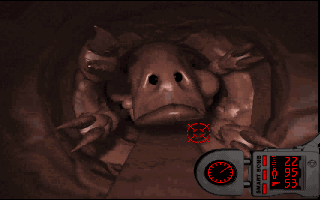
P: If you exit this room in direction 5, then another of the blue spiders descends from the ceiling.
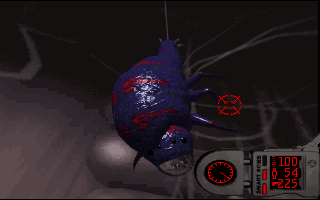
Q: This room is exactly like room F, except there is no wall container.
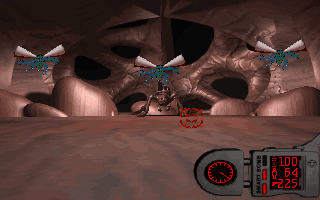
R: The chute here splits into two halfs and you have moments to decide which way to go. Left takes you safely down the chute; right takes you safely to the stomach of a waiting worm.
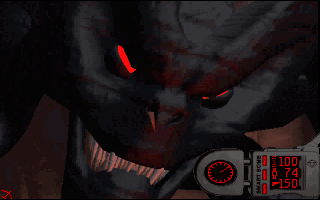
S: Final Battle As you enter this large corridor, the captain of the Amazon starts walking towards you. As she gets near, she transforms into the large beast found on the cover of your Creature Shock game box.
Basically similar to mission one, this mission does have one very important hint to help you survive.
As you may have gathered from the mission introduction, you need to follow that pod that appears through the canyons. Don't worry, you can't shoot the pod, but you can lose track of it. Several times, a second pod will appear and then the two pods will go down different paths. Always follow the blue pod, never follow the red pod.
Note that this mission cannot be played on "easy". Damage values listed below are for the medium difficulty level.
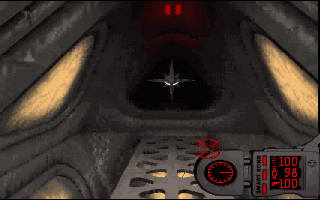
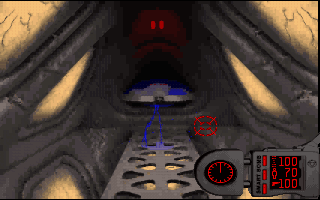
A: As you arrive, you are assaulted from behind by some small helicopter like objects. The shot you take during the cinematic sequence does not actually cause any damage
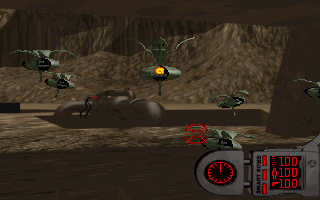
B: A large green creature with a single central eye and long tentacles descends into the room. The creature gazes at you to damage you and I haven't noticed any pattern as to when it gazes, making it very difficult to block his shots.
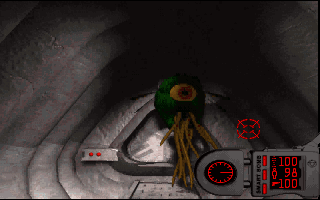
C: Another large green eye-creature hides behind equipment. He always zooms out away from cover when he is about to gaze at you.
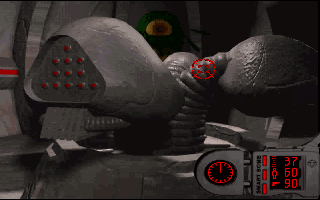
D: A spinning projector on the ceiling creates several electronic images on the floor below.
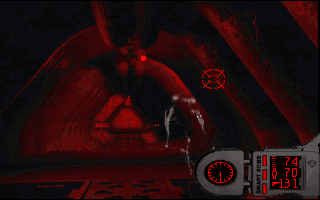
E: A large, 3-toed, bug-eyed monster crawls through an opening in the ceiling when you enter into this room.
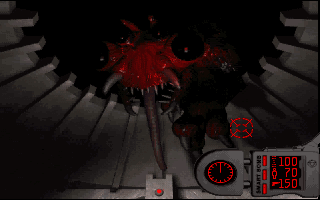
F: A side room opens up letting out a horde of those green eyeball gazers.
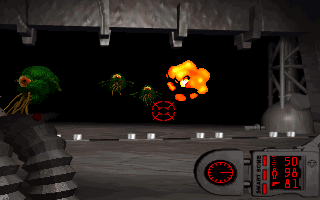
G: As you pass by, a grid of fire shooters appears.
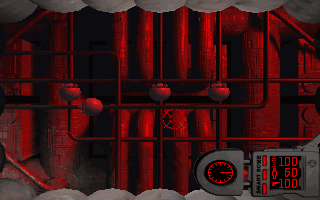
H: This room contains an elevator connecting the two rooms labeled H on the lower and upper floors.
I: This room has a very large pit in the center of the room and a walkway around the edge. As you enter the room, a large spider rises from the pit.
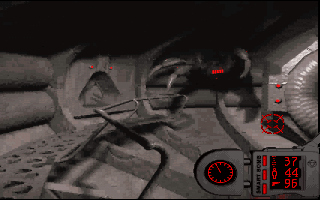
This will send the spider into the pit. Foolishly, your character peers over the edge to get a closer look and then needs to finish off the monster:
J: This door is actually a creature.
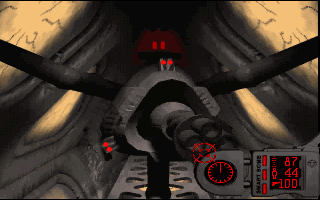
This monster falls apart in three pieces. Its attack methods change after each transformation
K: Goal This is the transmittion tower that you were asked to destroy.
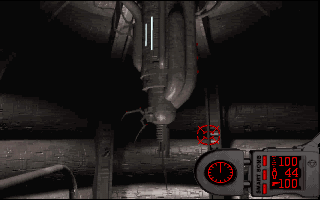
Destroying this starts a 10000 timer before the base is destroyed. (The amount of real time is 11:30)
L: As you slide down this tube, there is a worm in the tube that you approach very quickly.
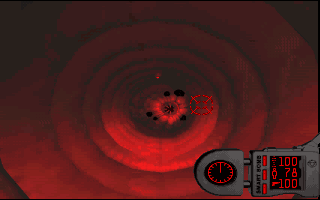
M: A spider rises from the pit as you enter this room.
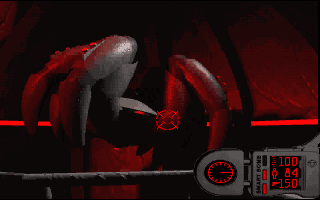
N: An energy sphere is located here that heals you completely.
O: An energy sphere is located here that increases your gun's power by 50%.
P: Two large doglike creatures appear in the corridor here. Note that the health meter for the monsters is initally set at 200%
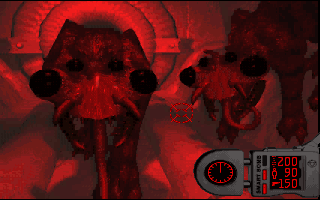
Q: Upon entering the room, you see another bug-eyed monster appear.
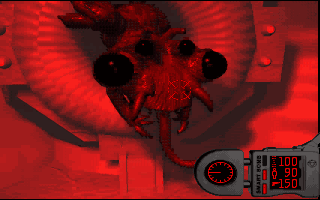
If you follow the dog, you end up trapped between the dog on one side and a tube worm behind you. You must quickly finish off the dog and then run out of the tube so you can turn around to fight the worm.
R: There is an array of spiders here that shoot and throw small explosives at you.
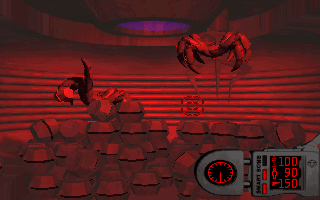
S: As you walk down this tunnel, you will sometimes fall through the floor into room M.
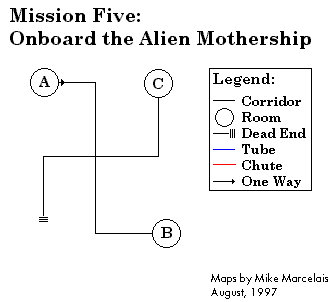
Note that this mission cannot be played on "easy". Damage values listed below are for the medium difficulty level.
There are no wandering monsters on this level. In fact, there isn't much of anything; but what is here is very nasty.
A: Your ship crashes here. Unlike the other levels, there is nothing waiting to greet you.
B: This is a creature zoo which you should recognize if you have died at any time earlier in the game.
C: A large, hawk like creature rises from a hole in the ground here.
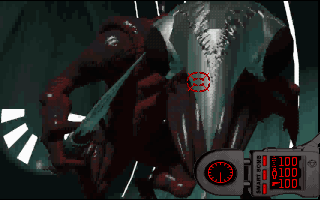
The rest of the level is very cinematic. No map locations are provided because you never have to do any navigation. Just kill the monsters and watch the cinematics.
D: After you finish off the hawk, another large creature appears behind you, his mouth dripping with tentacles. He throws you through the wall and starts running down the conveyer belt to get you.
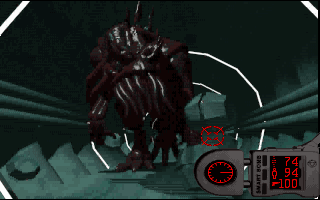
After you shoot him twice, you take off down a corridor and turn around. The monster recovers and comes after you.
Then you drop down to E.
E: Final Battle This is the leader of the alien mothership and the last monster you need to waste before you can win the game and save the planet. Unfortunately, he is armed heavily. During the battle, he moves around quite a bit. You can move to follow him by clicking on the edge of the screen. If you don't follow him, then he gets lots of free hits against you.
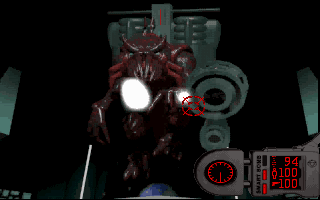
Note that the photon torpedoes can be destroyed with two hits.
Enjoy the final cutscene.
All images shown in this hint guide were screen captured from the game using the PCX Toolkit. Those images are © Argonaut Software and Virgin Interactive Entertainment.
The three level maps were hand drawn and © Mike Marcelais.
This guide may be distributed so long as its content is unmodified. Reformatting of the document or omitting the screen shots is permitted, but must be noted in the modified document.