
All images are property of Warner Bros�
![]()
Written
and illustrated by Dr. Hugh
Website conversion and layout by Bert Jamin

|
| |
|
Click on one of these images to go to that Level
 |
 |
 |
 |
 |
 |
 |
 |
 |
 |
Or click on the image at the bottom of this page to go to the next Level
To go to one of the sublevels just click on one of these links:
Hogwarts Main Entrance/Corridor to the Girl's Toilet (Troll)
Quidditch Match: Gryffindor vs. Ravenclaw
� February
2003 Bert Jamin (www.gamesover.com)
This walkthrough may not be sold and may not be used for any commercial
purposes. Neither is it permitted to publish this walkthrough in any way without
the written permission of the author. Feel free to place this walkthrough on
your web site or on your home page, on condition that no part of this
walkthrough is changed and that the name of the author (Dr. Hugh), the URL of
the owner of this site ( www.gamesover.com
) and his E-mail address ( [email protected]
) are mentioned unchanged. For the most up to date walkthroughs always visit
www.gamesover.com.
If you have any suggestions to improve this walkthrough, let me know by sending me an email: [email protected] .
Lumos
Challenge
Collect
the Challenge Stars.
Find
1 secret Wizard Card. Find 4 Secret Areas.
[3.3]
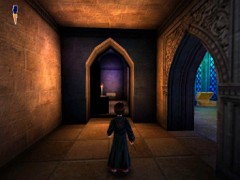
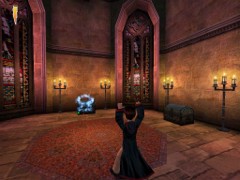
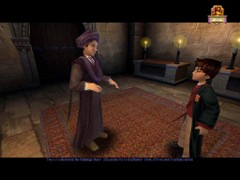
Professor Quirrell is giving Harry instructions on the Lumos Challenge:
In
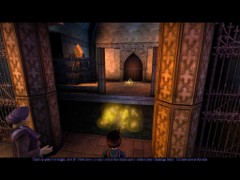
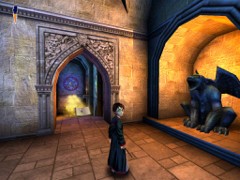
the next room Quirrell shows Harry the statue of a Gargoyle:
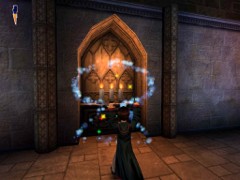
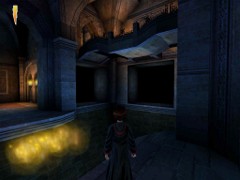
The
Lumos Spell has exposed a yellow Magic Cloud over the chasm:
That�s
q-quite b-b-bright, isn�t it?
Now
you c-c-can c-cross the chasm and c-collect your Challenge Stars. I�ll meet
you at the end.
Walk
over the Cloud and collect your 1st Challenge Star on the opposite
side.
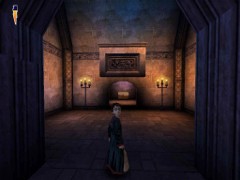
Go inside
Follow
the Cathedral�s ship past two Flipendo switches on the walls and first open
the chest at the end with Alohomora to find some Beans in it
Turn
around and cast Flipendo at the switch on your right side.

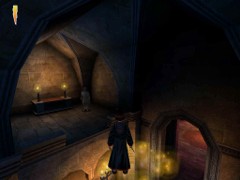
Alohomora on the candles...
...opens a Secret Room
Go
inside the Secret Room and open the chest with Alohomora for many Beans.
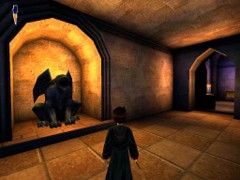
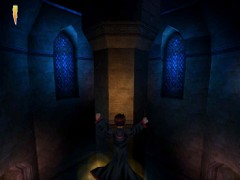
Lumos on this Gargoyle...
...charms a Magic Cloud
Go
out and cast Flipendo on the opposite switch. That will also open both grilled
doors on this side.
A staircase of Magic Clouds
Jump
on the lowest Cloud and further from Cloud to Cloud to the balcony on the second
floor. Cross the Magic Cloud to the opposite side and grab your 2nd
Challenge Star.
At
the end of this corridor cast Alohomora on a chest and get out the Beans.
But save first.
[3.4]
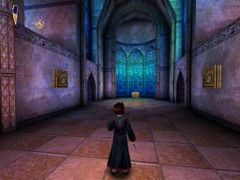
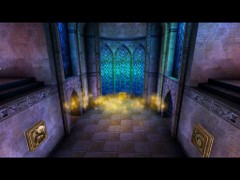
Cross the three Magic Clouds and cast Alohomora on the circular colored pattern
on the far wall.
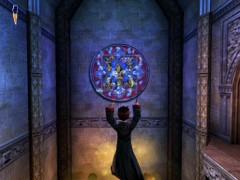
Alohomora on the colored pattern...
...opens a Secret Room containing a Wizard Card
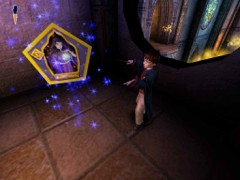
Jump
to the round opening and collect your Wizard Card #37: Cassandra Vablatsky,
1894-1997. Celebrated Seer and author of �Unfogging the Future�.
Go
out of the room and jump to the first Cloud and from there to the balcony on
your left.
Catch
Challenge Star #3.
You�ll
be entering a new room with two jars and three arches. Break the jars with
Flipendo for an extra couple of Beans and go through the arches on the opposite
side.
Cast
Wingardium Leviosa at the statue on left and move it onto the plate on your
right.
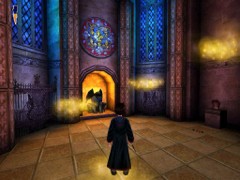
That
will open the gate to the Gargoyle between the two stained glass windows.
Cast
Lumos on the Gargoyle and you will be shown how a vertically floating Magic
Cloud is charmed in the large room.
Return
to that room and jump on the Cloud when it�s near the floor. Ride to the
second floor and jump. You are near an alcove with three lit candles.
Ride up and notice that alcove with candles...
...hiding a Secret Room
Cast
Alohomora on the candles and enter this 3rd Secret Area.
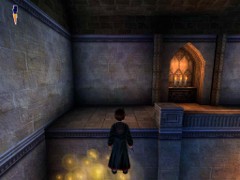
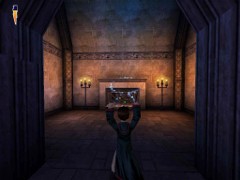
Enter
the room further on your left with a bright painting and a Gargoyle. Cast Lumos
on the Gargoyle. Turn around and cross the gap by the newly formed Magic Cloud.
Jump
into the opposite room with a Flipendo switch and another Gargoyle.
Lumos
on the Gargoyle will form a Magic Cloud to the balcony with the Star in the
large room.
A Magic Cloud to the Star
Leave
through the new exit and follow all the way left till the corner. Jump to the
Magic cloud and to your 5th Challenge Star.
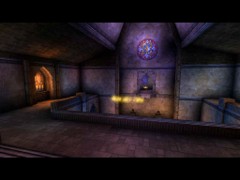
[3.5]
Now you�ll be entering an octagonal kind of Mausoleum in the middle of a
circus.
Don�t
enter the Mausoleum yet but turn left into the circular passage and enter the
room with the Chocolate Frog on your left.
Alohomora on the chimney...
...hiding a Secret Room
Cast
Alohomora on the chest for more Beans and another Choky Frog.
As
soon as you�ll capture this 6th Star, all doors to the Mausoleum
seal off and... Peeves flies in.
Cast
Flipendo until Peeves� health meter is fully down, and he�ll flee off,
opening all doors again.
[3.6] Turn left and cast Lumos on the Gargoyle hidden in the dark on your left.
That
will make the door close again and charm a Magic cloud sliding over the next
gap. Stand on the balcony and watch the Cloud approach. Then, jump on it and
ride it till the ledges on both sides.
Jump
to the ledge on your right first. Immediately turn right under a couple of
arches, grab the Chocolate Frog and cast Flipendo on each of both jars on a
pedestal. Harry will have increased his stamina and obtained some more Beans.
Leave
and continue right to a room with two chests. Open each chest and extract a
whole lot of Beans.
Alohomora on each chest
Follow
down the stairs on your left. Be careful by the second set of stairs. A hatch on
the opposite side will open releasing an attacking Doxie. Quickly make it vanish
with Flipendo.
In
this dark room turn left and jump to the platform around the central pillar of a
tower.
Catch
the 7th and final Challenge Star and enter a room with a Chocolate
Frog and a boy that is lost.
There
is a door with a lock.
Backtrack all the way to the room with two chests, continue right till the gap and wait for the sliding Cloud to approach.
Look up to the newly constructed bridge.
Jump
to the sliding Cloud and to the opposite side.
Turn
left under the arches and cast Lumos on the Gargoyle on your right.
Jump
back to the other side over the sliding Cloud and climb the new Cloud lift when
it is near the floor.
Jump to the ledge on your left.
Here
you�ll meet Nearly Headless Nick again:
Turn
left and cross the bridge to the opposite side avoiding the Save Book on right
side for now. There is a room with a Gargoyle in the dark.
Cast
Lumos and watch how a Magic Cloud is charmed orbiting the central pillar of the
tower higher up.
[3.7] Turn right inside the circular passage and follow till the end where you�ll spot a chest.
Open
it with Alohomora and get some more Beans.
Jump to the sliding Cloud
Ride
to the opposite ledge and jump off.
Now,
off t-to your P-potions lesson.
Up
to the next sublevel...
